
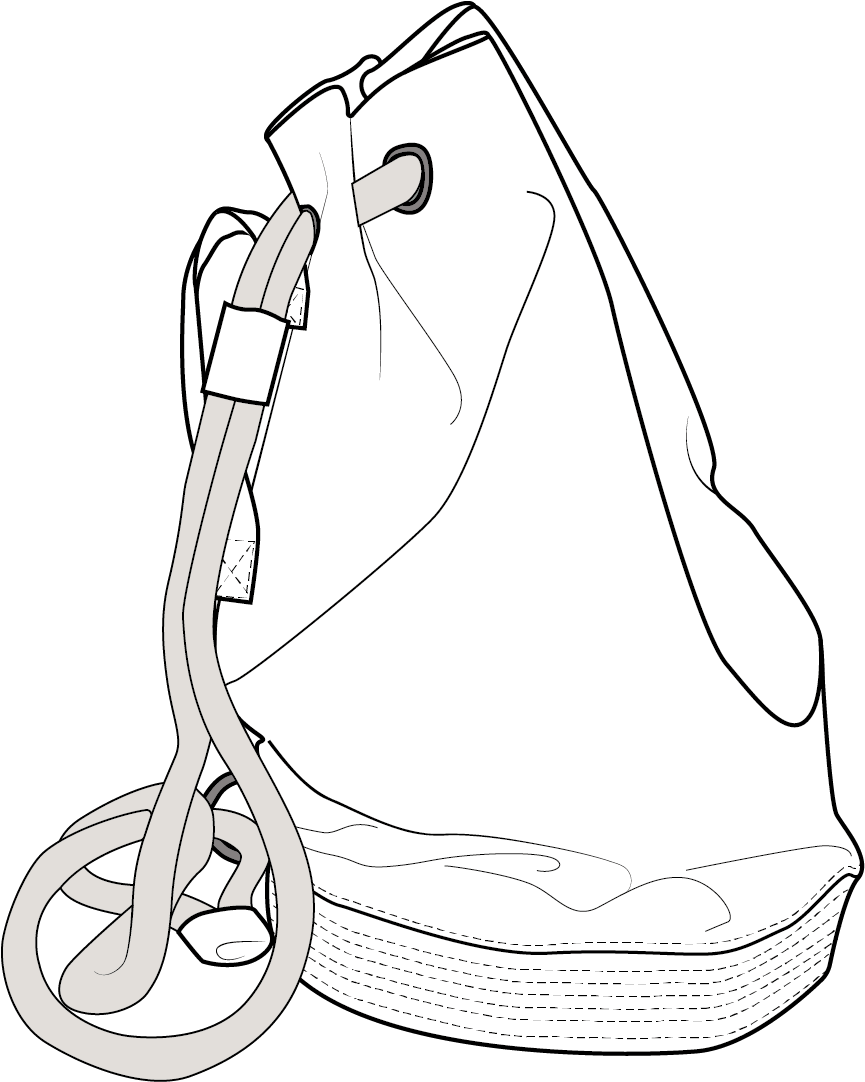
Hammershus bag

The bag has a handle and can be used both as a shoulder bag, a cross body and a backpack. Is has a quilted bottom that makes it more stable and an inside pocket with a zip.
Fabric choice:
Shell: You can use many different kinds of woven fabric for this bag. Both heavy and medium-heavy fabrics work well. I recommend cotton Twill, Denim, and Panama - however, only your imagination sets the limit
Lining: Wowen cotton poplin or fabric similar to that works well.
tools You will need:
Sewing machine
Scissor
Pins
Thread
Hammer
Tools for the eyelets
Ruler
Textile pen/ chalk
You will need:
Fabric; width140 cm 65 cm
Lining; width 140 cm 60 cm
Batting 30 cm
Rope 2 m (10mm diameter)
Eyelets 1.4 cm 8 pieces
Snap hook 1 piece
Interfacing 10 cm
Zipper 1 piece
Bias binding; width 5 cm 1 m - bias binding can be made from the lining
Cutting Fabric
On each pattern piece, you will find a capital letter. On the cutting layout plan, you will find the same capital letters so that you can easily see which pattern pieces to use for the view you have chosen.


Sewing
Here you will find the Video-sewing instruction for the Hammershus Bag
NOTE! The Pattern Has 1. 5 Cm Seam Allowances Included Unless Otherwise Noted.
How to print your pattern
You have received your pattern in a link when you purchasing the Hammershus bag.
1 - How to print the PDF sewing pattern
How to cut your bag
If you have experience with sewing and cutting a bag you can just follow the cutting layout plan above the videos.
2 - How to cut your fabric
3 - How to cut your lining
4 - How to cut your batting
5 - How to cut your finterfacing
6 - How to cut your bias tape
Prepare your fabric
7 - Place and press interfacing to the fabric
8 - Place batting
quilting fabric
9 - How to quilt the brim
10 - How to quilt the bottom
11 - Finish the quilting
Sew strap and brim to bag
12 - Sew the brim to the bag
13 - Sew the strap
14 - Sew the strap to the bag
sew the pocket
15 - Fold the top edge
16 - Sew the pocket
Assemble the bag
17 - Sew lining to the bag
18 - Sew in the bottom
19 - Sew bias binding
The last details
20 - Sew the handle
21 - Sew handle to the bag
22 - Add eyelets
23 - Add robe
24 - Sew robe adjustment piece
25 - Finish the bag